
Tier List
Backseat Rally car tier list 2026: S-tier stage-record machines, A-tier head-to-head performers, solid B picks and C-tier collection cars ranked with reasoning.
Introduction
The Backseat Rally tier list ranks all 7 cars from S to C so you can spend Credits with confidence. The S tier belongs to the balanced all-rounder that performs on every stage and in every weather condition. The A tier holds the two specialists — the top-speed machine for open straights and the grip-focused car for snow, mud and hairpins. The B tier covers the starter and budget picks that are fine early but quickly outclassed, while the C tier is where the low-stat collection cars live. Every ranking explains the why, based on community stat profiles and typical stage layouts, rather than just printing a letter. The tier list updates when the developer adds cars or rebalances stats, so check the Updates page for changes. If you are new, use the list as a buying guide: skip straight to S and A targets when you can, and let B cars cover the gap while you save.
Tier Ranking Explained
| Tier | Cars | Why | Best For |
|---|---|---|---|
| S | Balanced Racer | High speed plus high handling on every stage | Stage records and mixed weather |
| A | Top-Speed Sprint, Grip Master | Specialists that dominate their home terrain | Straights or low-grip stages |
| B | Starter Rally, Budget Coupe | Solid starters,budget-friendly steps | Early Credits farming |
| C | Snow Chugger, Classic Clunker | Low stats that cannot compete | Collection only |
Tier Breakdown
S Tier — Balanced Racer
The safest Credits investment and the pick for stage records
A Tier — Specialists
Conditional power for players who commit to one style
B Tier — Stepping Stones
Cheap and forgiving early purchases that you quickly outgrow
C Tier — Collection
Low stats and meme value only, never a competitive pick
Core Mechanics
The Backseat Rally tier list is built from three inputs: community stat profiles, stage layouts and weather behavior. A car with high speed and high handling scores well everywhere, which is why the Balanced Racer sits alone at S tier. Specialists score high on their home terrain but lose points elsewhere, placing them at A — the Top-Speed Sprint dominates open straights but suffers in snow, while the Grip Master owns low-grip stages but loses ground on straights. B-tier cars are statistically mid but cheap, which makes them fine stepping stones for new players. C-tier cars simply lack the stats to compete and are only worth buying for the collection. The list assumes average driver skill and does not optimize for one specific playstyle; a player who only races the snowy pass may value the Grip Master as highly as the Balanced Racer. Weather adds a second layer, because a car that feels strong in the dry can drop a full tier when grip disappears.
Advantages
A clear tier list saves you Credits and race time. Instead of buying cars blindly, you know exactly where each purchase sits and which upgrades matter most for your playstyle. The S and A rankings tell you what to save for, so you stop wasting Credits on B-tier stepping stones you immediately outgrow. For new players the list removes the biggest early mistake — spending hard-earned Credits on a specialist car that only works on one stage. The explained reasoning also helps you adapt when the meta shifts: if the developer nerfs the Balanced Racer or adds a new car, you understand which stats to watch. Because the list ties into the cars and stages pages, you can verify the reasoning yourself by looking at the stat profiles and the routes where each car is recommended, which makes the tier list more trustworthy than a bare ranking.
Challenges
Tier lists are opinions, not official data, and the Backseat Rally list is based on community stat profiles that the developer has never formally published. Balance updates can reshuffle everything overnight — a car that feels S tier today may feel A tier after a patch. The list also assumes an average driver; a player who loves the snowy pass may find the Grip Master outperforms the Balanced Racer in their own hands, and a player who only chases straights may prefer the Top-Speed Sprint. Tier lists cannot capture weather variation either, since the same car performs differently in dry, rain and snow conditions. Treat the rankings as a buying guide, not a promise: check the Updates page, test cars in practice, and trust your own lap times over a static letter when they disagree.
Frequently Asked Questions
Is the Balanced Racer always the best car?+
Why are the specialists only A tier?+
Should I ever buy a C-tier car?+
Quick Tips
Let the tier list set your savings target, not your daily driver. If the S-tier Balanced Racer is your goal, keep using the starter car and farm Credits instead of buying every B-tier car on the way. Skipping the mediocre purchases is how the list saves you money in the long run.
Re-read the tier list after every game update. Balance changes can move a car a full tier, so the ranking you memorized last month may already be outdated. The Updates page will note when the developer tweaks car speed or handling values, and the tier page is refreshed to match within a few days. Before you spend Credits on a new car, always check the list one more time. A car that was a safe purchase last week can become a poor investment after a single patch, so treating the tier list as a living document rather than a fixed chart is the fastest way to keep your roster competitive.
Match the tier to your route, not the other way around. If you practice mostly on the snowy pass, the A-tier Grip Master can outperform the S-tier Balanced Racer in your hands. Keep a note of which stages you race most and weight the list toward those conditions before you spend Credits.
Featured
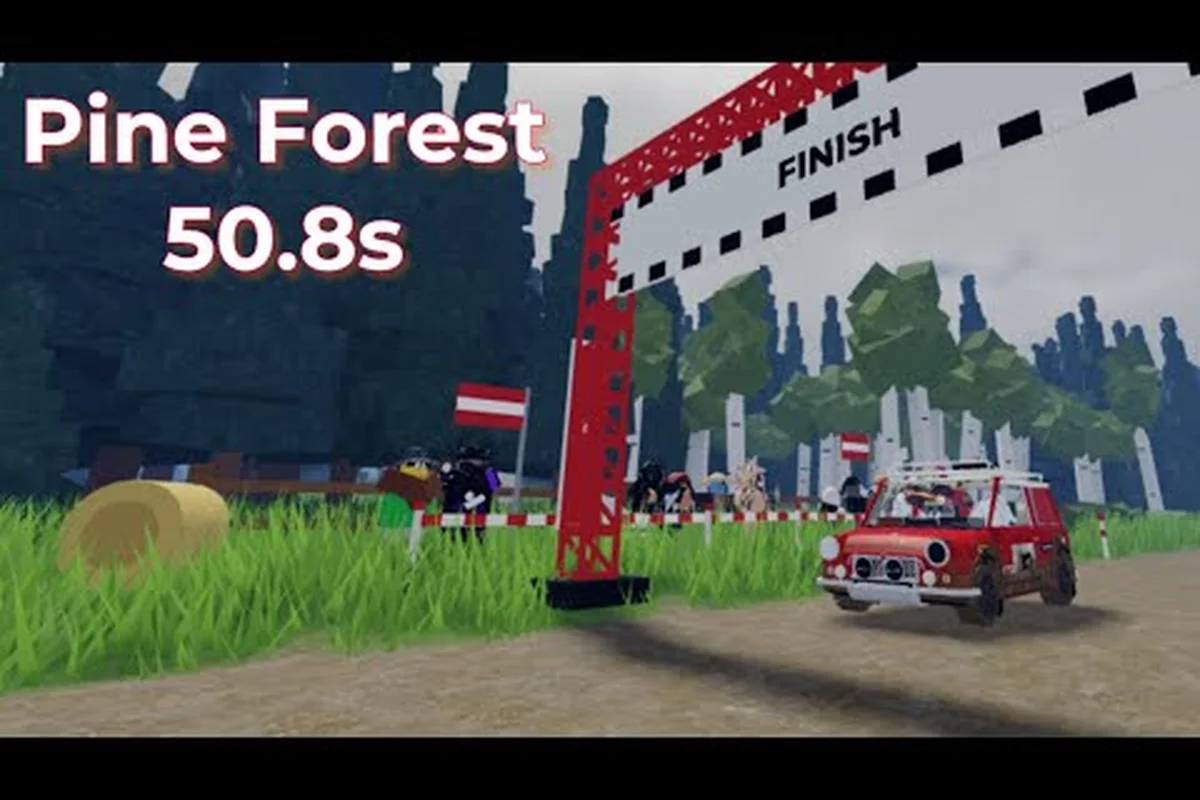
Backseat Rally Best Car for Time Trial: Speed and Value Picks
Find the Backseat Rally best car for time trial with speed-focused rankings, handling breakdowns, and the top value ride that shaves seconds off solo runs.

Backseat Rally Car Meta Guide: S Rank Picks and Patch Winners
Break down the Backseat Rally car meta guide with S rank dominators, stat splits that decide winners, and which rides top the current 2026 patch tier.
Backseat Rally Car Ranking 2026: S to F Tier Verdict
Score the full Backseat Rally car ranking 2026 from S to F tier, with handling, top speed, and medal data shaping every ride's meta verdict.
All Articles

Backseat Rally Car Rating Guide: Top Tiers for Medals
Rate every Backseat Rally ride with the car rating guide, weighing handling, top speed, and value to find the best overall 2026 car for medals.
Backseat Rally Car Tier List for Races: Speed and Handling Scored
Compare the Backseat Rally car tier list for races with speed tiers, handling scores, and balanced rides that hold up across ranked and casual events.
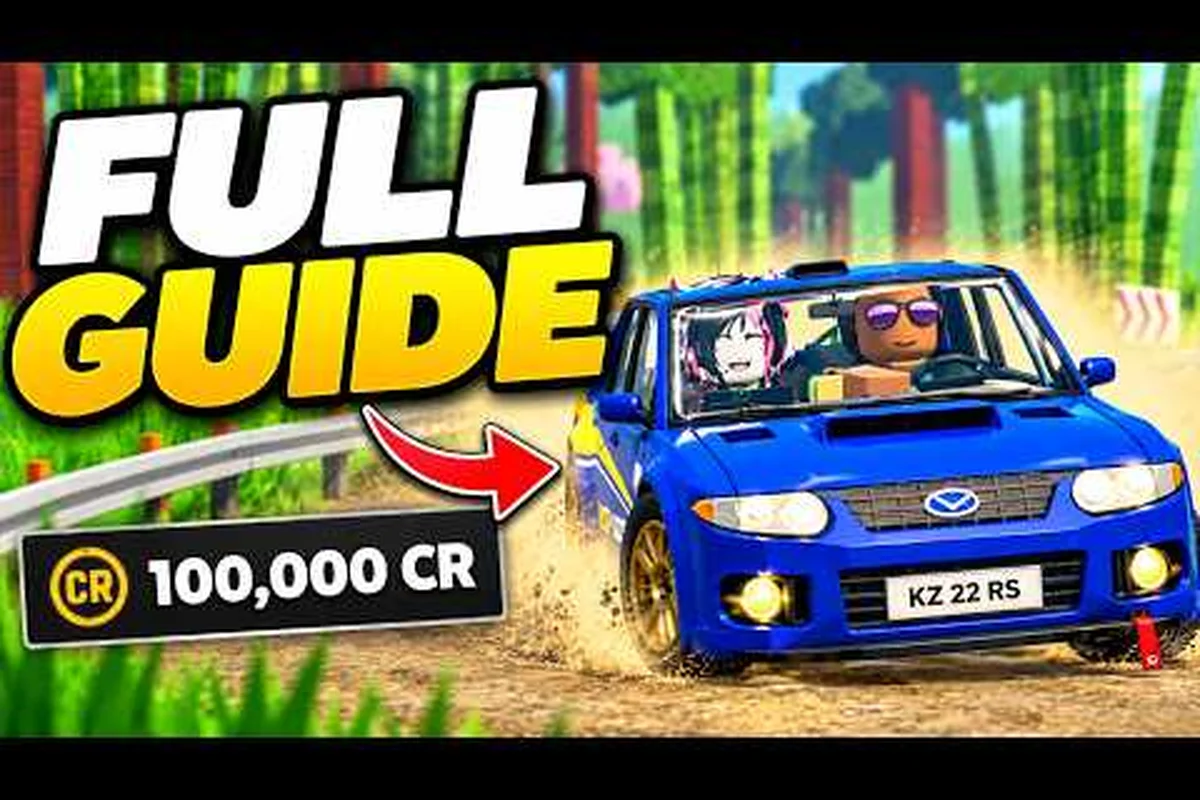
Backseat Rally Tier List: S to F Breakdown
See the full Backseat Rally tier list ranking every car from S to F tier, with stats and verdicts that shape the 2026 meta.

Backseat Rally Top 10 Cars: Meta Picks Ranked for 2026
Count down the Backseat Rally top 10 cars with stats, medals performance, and beginner picks so you know exactly which rides deserve your credits.